Image depth#
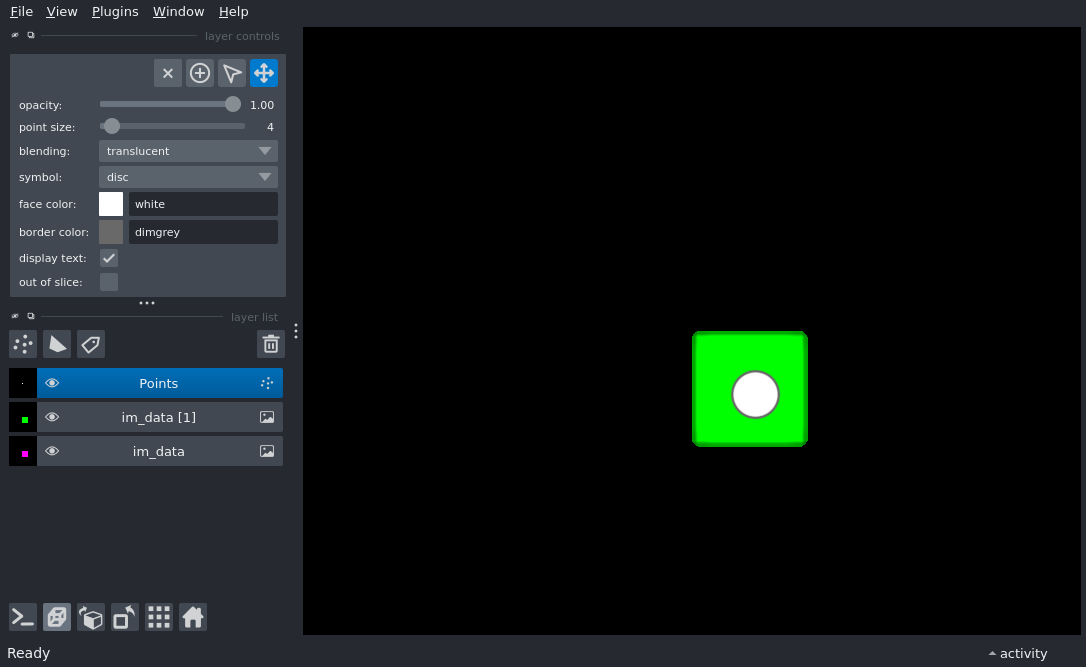
Display a 3D image and 3D points layer to show how napari handles depth.
The default blending for images is translucent_no_depth, which ignores depth and always draws the layer on top of lower layers. Switching to translucent allows objects in this layer to disappear behind objects in other layers depending on the distance from the camera.
/home/runner/work/docs/docs/.venv/lib/python3.12/site-packages/napari/_qt/qt_event_loop.py:50: UserWarning: System theme detection requires a Qt6 backend. Please switch to PyQt6 or PySide6 to use it.
  theme_type=get_system_theme(),
/home/runner/work/docs/docs/.venv/lib/python3.12/site-packages/napari/_qt/qt_event_loop.py:50: UserWarning: System theme detection requires a Qt6 backend. Please switch to PyQt6 or PySide6 to use it.
  theme_type=get_system_theme(),
import numpy as np

import napari

im_data = np.zeros((50, 50, 50))
im_data[30:40, 25:35, 25:35] = 1
viewer = napari.Viewer()
layer = viewer.add_image(im_data, colormap='magenta', rendering='iso', blending='translucent')
viewer.add_image(im_data, colormap='green', rendering='iso', blending='translucent', translate=(30, 0, 0))

points_data = [
    [50, 30, 30],
    [25, 30, 30],
    [75, 30, 30]
]
viewer.add_points(points_data, size=4)

viewer.dims.ndisplay = 3
viewer.camera.angles = (0, -30, 10)
viewer.fit_to_view()

if __name__ == '__main__':
    napari.run()