Note
Go to the end to download the full example as a Python script or as a Jupyter notebook..
nD points with features#
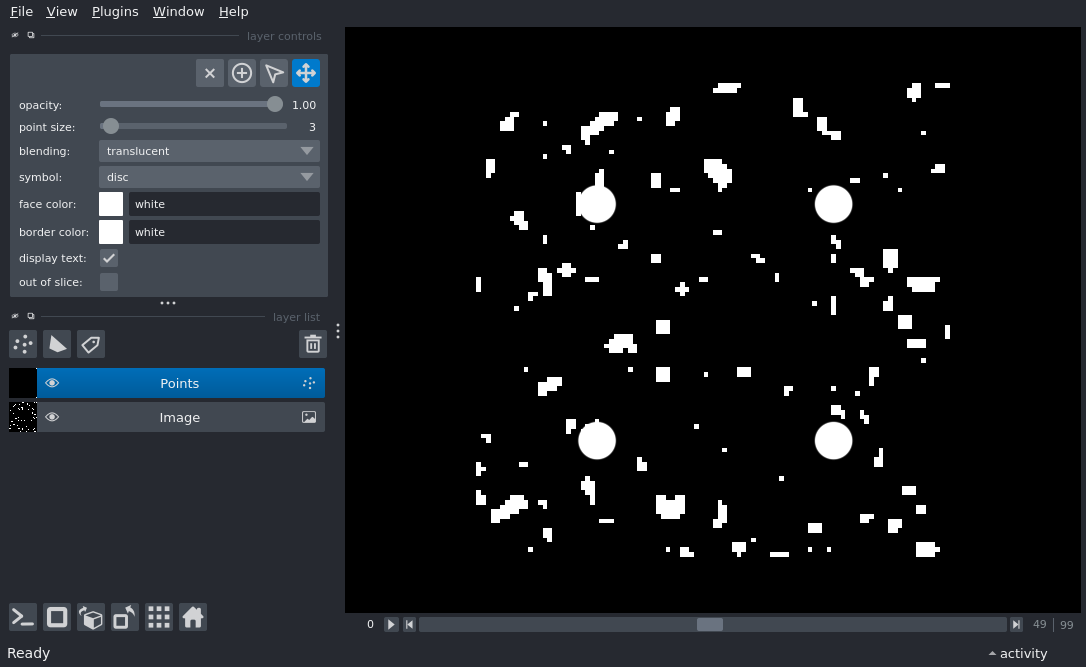
Display one points layer ontop of one 4-D image layer using the add_points and add_image APIs, where the markes are visible as nD objects across the dimensions, specified by their size

import numpy as np
from skimage import data

import napari

blobs = data.binary_blobs(
    length=100, blob_size_fraction=0.05, n_dim=3, volume_fraction=0.05
)
viewer = napari.Viewer()
layer = viewer.add_image(blobs.astype(float))

# create the points
points = []
for z in range(blobs.shape[0]):
    points += [[z, 25, 25], [z, 25, 75], [z, 75, 25], [z, 75, 75]]

# create the features for setting the face and edge color.
face_feature = np.array(
    [True, True, True, True, False, False, False, False]
    * int(blobs.shape[0] / 2)
)
border_feature = np.array(['A', 'B', 'C', 'D', 'E'] * int(len(points) / 5))

features = {
    'face_feature': face_feature,
    'border_feature': border_feature,
}

points_layer = viewer.add_points(
    points,
    features=features,
    size=3,
    border_width=5,
    border_width_is_relative=False,
    border_color='border_feature',
    face_color='face_feature',
    out_of_slice_display=False,
)

# change the face color cycle
points_layer.face_color_cycle = ['white', 'black']

# change the border_color cycle.
# there are 4 colors for 5 categories, so 'c' will be recycled
points_layer.border_color_cycle = ['c', 'm', 'y', 'k']

if __name__ == '__main__':
    napari.run()