Install napari#
Install napari in a Python environment for the most customizable experience.
A standalone installer for when you want napari without setting up Python first.
If you want to contribute code back into napari, you should follow the development installation instructions in the contributing guide instead.
Install as Python package#
This installation method allows you to use napari from Python to programmatically
interact with the app. It is the best way to install napari and make full use of
all its features. Python package distributions of napari can be installed via pip, conda-forge, or from source.
It requires:
the ability to install python packages via pip OR conda-forge
You may also want:
New to Python?
New to Python or uncertain about conda, pip, and virtual environments? Here are some resources we recommend:
A clean environment is recommended
While not strictly required, it is highly recommended to install napari into a clean virtual environment using an environment manager like conda or venv.
This should be set up before you install napari. For example, setting with
up a Python 3.11 environment with conda:
conda create -y -n napari-env -c conda-forge python=3.11
conda activate napari-env
Choose one of the options below to install napari as a Python package.
If you prefer to manage packages with conda, napari is available on the conda-forge channel. We also recommend this path for users of arm64 macOS machines (Apple Silicon, meaning a processor with a name like “M1”). You can install it with:
conda install -c conda-forge napari pyqt6
You can then upgrade to a new version of napari using:
conda update napari
If you want to install napari with PySide6 as the backend you need to install it using
conda install -c conda-forge napari pyside6
Note
In some cases, conda’s default solver can struggle to find out which packages need to be
installed for napari. If it takes too long or you get the wrong version of napari
(see below), consider:
Overriding your default channels to use only
conda-forgeby adding--override-channelsand specifying the napari and Python versions explicitly. For example, usepython=3.11to get Python 3.11 andnapari=0.8.0to specify the napari version as 0.8.0, the current release.Switching to the new, faster
libmambasolver, by updating yourconda(libmambais the default solver from conda 23.10 onwards):
conda update -n base conda
napari can be installed from PyPI on most macOS, Linux, and Windows systems with Python 3.11-3.14 using pip:
python -m pip install "napari[all]"
You can then upgrade napari to a new version using:
python -m pip install "napari[all]" --upgrade
(See Choosing a different Qt backend below for an explanation of the [all]
notation.)
(See Using constraints file for help installing older versions of napari)
To install the latest version with yet to be released features from Github you can use pip:
python -m pip install "git+https://github.com/napari/napari.git#egg=napari[all]"
Checking it worked#
After installation you should be able to launch napari from the command line by running
napari
An empty napari viewer should appear as follows:
/home/runner/work/docs/docs/.venv/lib/python3.12/site-packages/napari/_qt/qt_event_loop.py:50: UserWarning: System theme detection requires a Qt6 backend. Please switch to PyQt6 or PySide6 to use it.
  theme_type=get_system_theme(),
/home/runner/work/docs/docs/.venv/lib/python3.12/site-packages/napari/_qt/qt_event_loop.py:50: UserWarning: System theme detection requires a Qt6 backend. Please switch to PyQt6 or PySide6 to use it.
  theme_type=get_system_theme(),
WARNING: napari support for the PyQt5 backend is deprecated and will be removed in fall of 2026
/home/runner/work/docs/docs/.venv/lib/python3.12/site-packages/napari/_qt/qt_event_loop.py:50: UserWarning: System theme detection requires a Qt6 backend. Please switch to PyQt6 or PySide6 to use it.
  theme_type=get_system_theme(),

Note
On some platforms, particularly macOS and Windows, there may be a ~30 second delay before the viewer appears on first launch. This is expected and subsequent launches should be quick. However, anti-malware and other security software measures may further delay launches—even after the first launch.
You can check the napari version, to ensure it’s what you expect, for example
the current release 0.8.0, using the command: napari --version .
Advanced installation options#
Choosing a different Qt backend#
napari needs a library called Qt to run its user interface
(UI). In Python, there are two primary alternative libraries to run this:
PyQt6 and
PySide6 for Qt6. There is also an older option,
PyQt5 for Qt5.
By default, we don’t choose for you —
simply running python -m pip install napari will not install either. You may
already have one installed in your environment through other
scientific packages such as Spyder or matplotlib. If neither is available,
running napari will result in an error message asking you to install one.
Running python -m pip install "napari[all]" will install the default framework, which is currently
PyQt6–but this could change in the future.
To install napari with a specific framework, you can use:
python -m pip install "napari[pyqt6, optional]"    # for PyQt6

# OR
python -m pip install "napari[pyside6, optional]"  # for PySide6
By including optional you will install everything that napari[all] includes, but with the Qt backend of your choice.
Note
If you switch backends, it’s a good idea to pip uninstall the one
you’re not using.
Pyside2 is no longer supported
PySide2 is no longer maintained, so we dropped support for it in napari 0.7.0. PyQt5 remains supported, but we recommend the Qt6 backends.
Using constraints files#
Since napari 0.4.18, we store constraints files with information about each exact dependency version against which napari was tested. This could be useful if you need to install napari as a package from PyPI, and prevents creating environments where napari does not start or work properly.
The constraints files are stored in the napari repository under resources/constraints. To find
constraints for specific releases, go under the link https://github.com/napari/napari/tree/{tag}/resources/constraints
replacing {tag} with the desired napari version.
pip install napari[backend_selection] -c path/to/constraints/file
For example, if you would like to install napari with PyQt6 on python 3.14:
pip install napari[pyqt6, optional] -c constraints_py3.14.txt
Install as an application#
napari can be installed as a standalone application on macOS, Windows, and Linux — no Python knowledge required. This is the simplest way to get started and works best if you want to use napari as a standalone GUI app. Note that some plugins may not be available without a full Python environment.
Select your platform below to download napari 0.8.0 directly:
For pre-release versions or earlier stable versions of the napari app, scroll below the latest release on the napari GitHub releases page. Each release (0.4.15 and above) includes installers for all platforms under the “Assets” section.
Windows#
Download from GitHub: napari-0.8.0-Windows-x86_64.exe
Double-click the downloaded .exe file to begin setup.
Windows Security Warning
The napari Windows installer is code-signed. Microsoft Defender SmartScreen may trigger a warning when a new app version is newly released until the cooling period ends.
If Windows shows a warning for an installer downloaded from the official napari GitHub releases page, click More info and confirm that the publisher is NumFOCUS, Inc. before choosing Run anyway. If you continue seeing the warning on managed devices, contact your IT department.
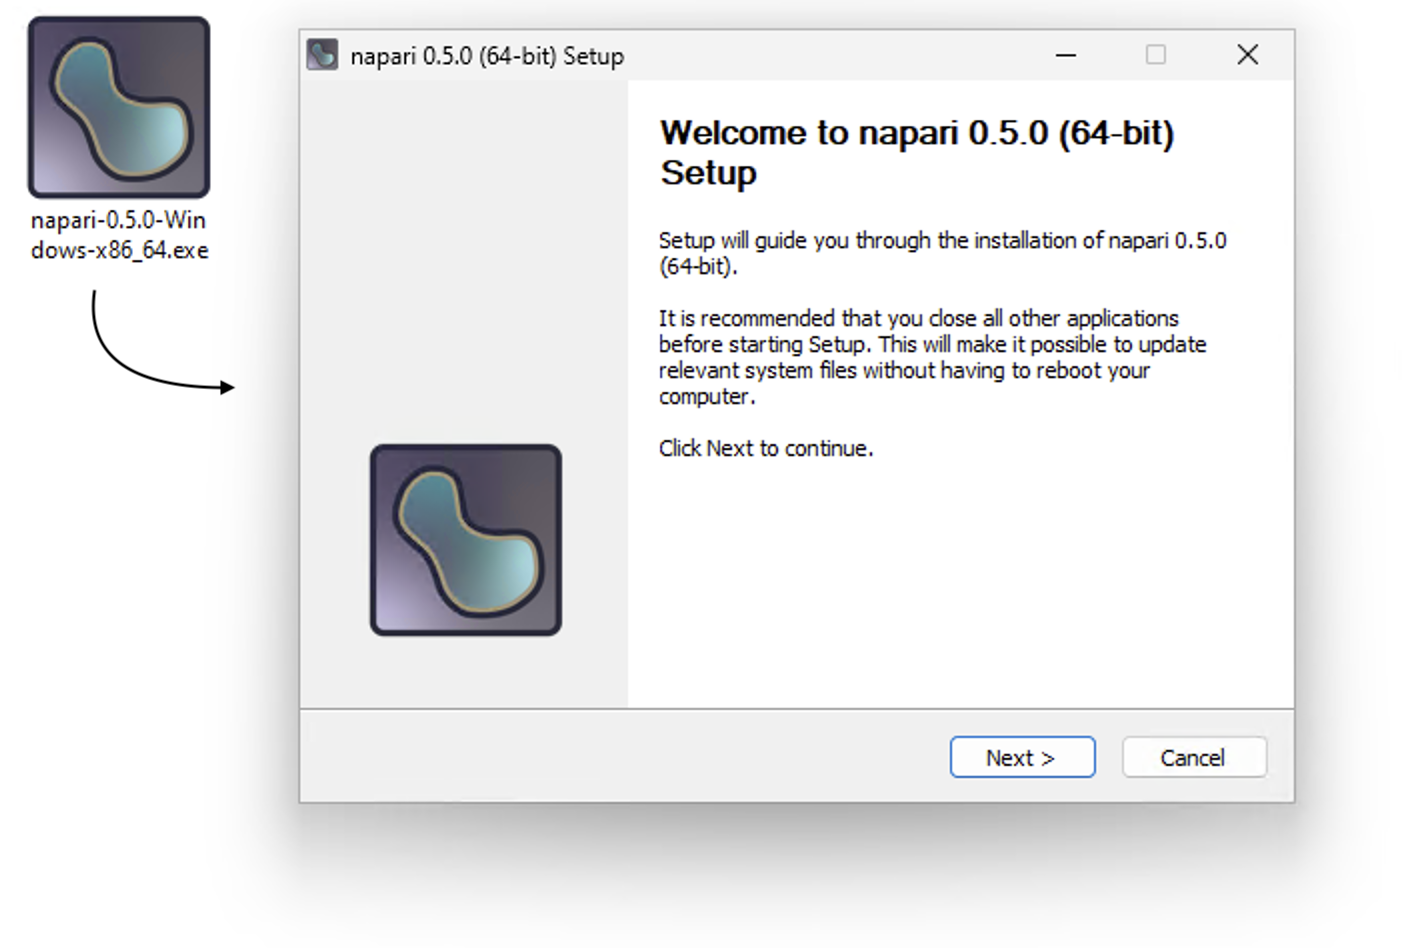
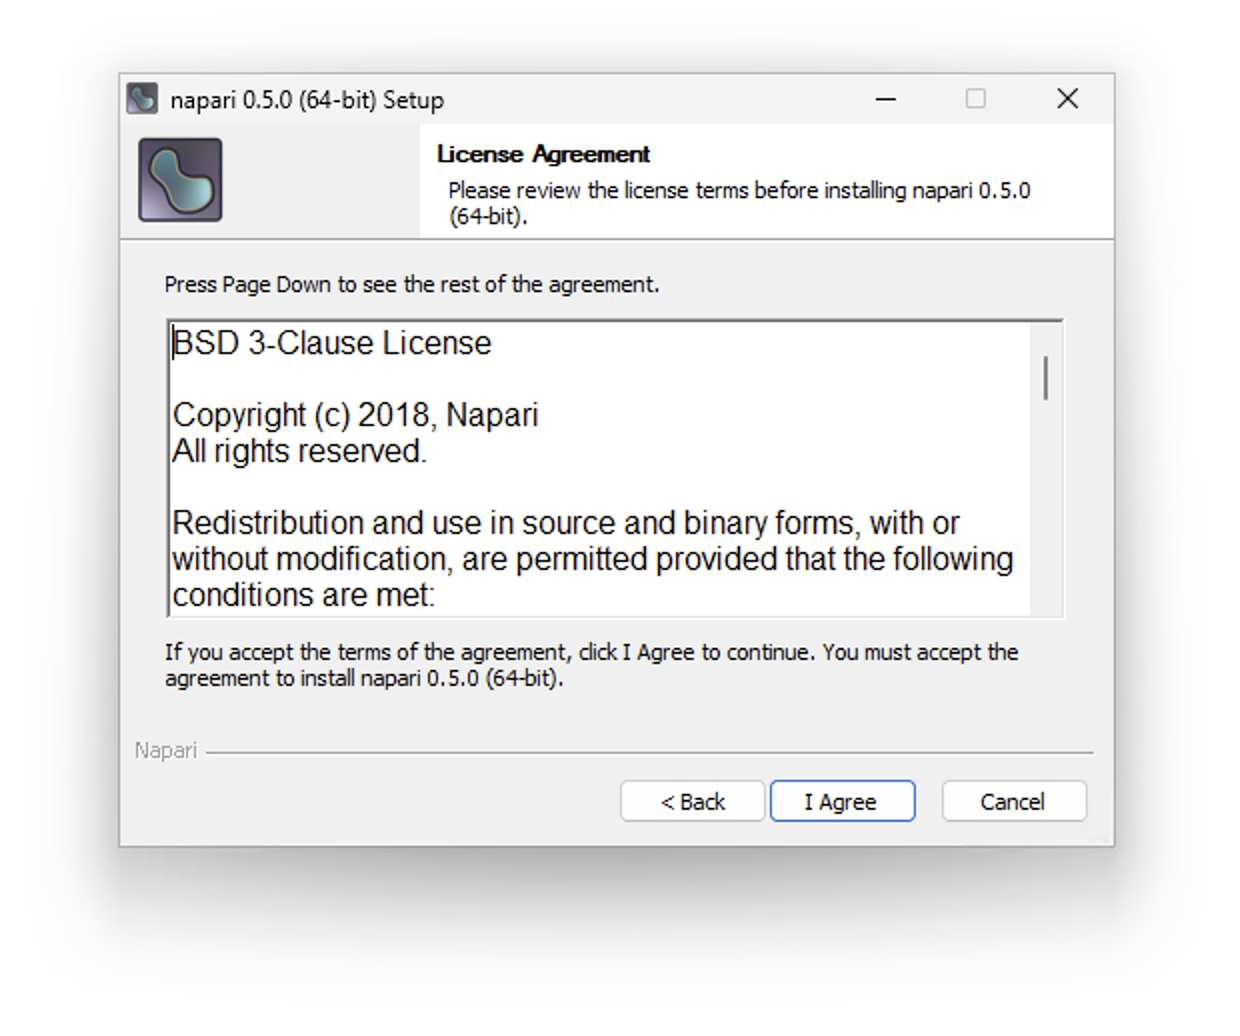
Click Next to proceed to the License Agreement. Read the license and click I Agree to continue.
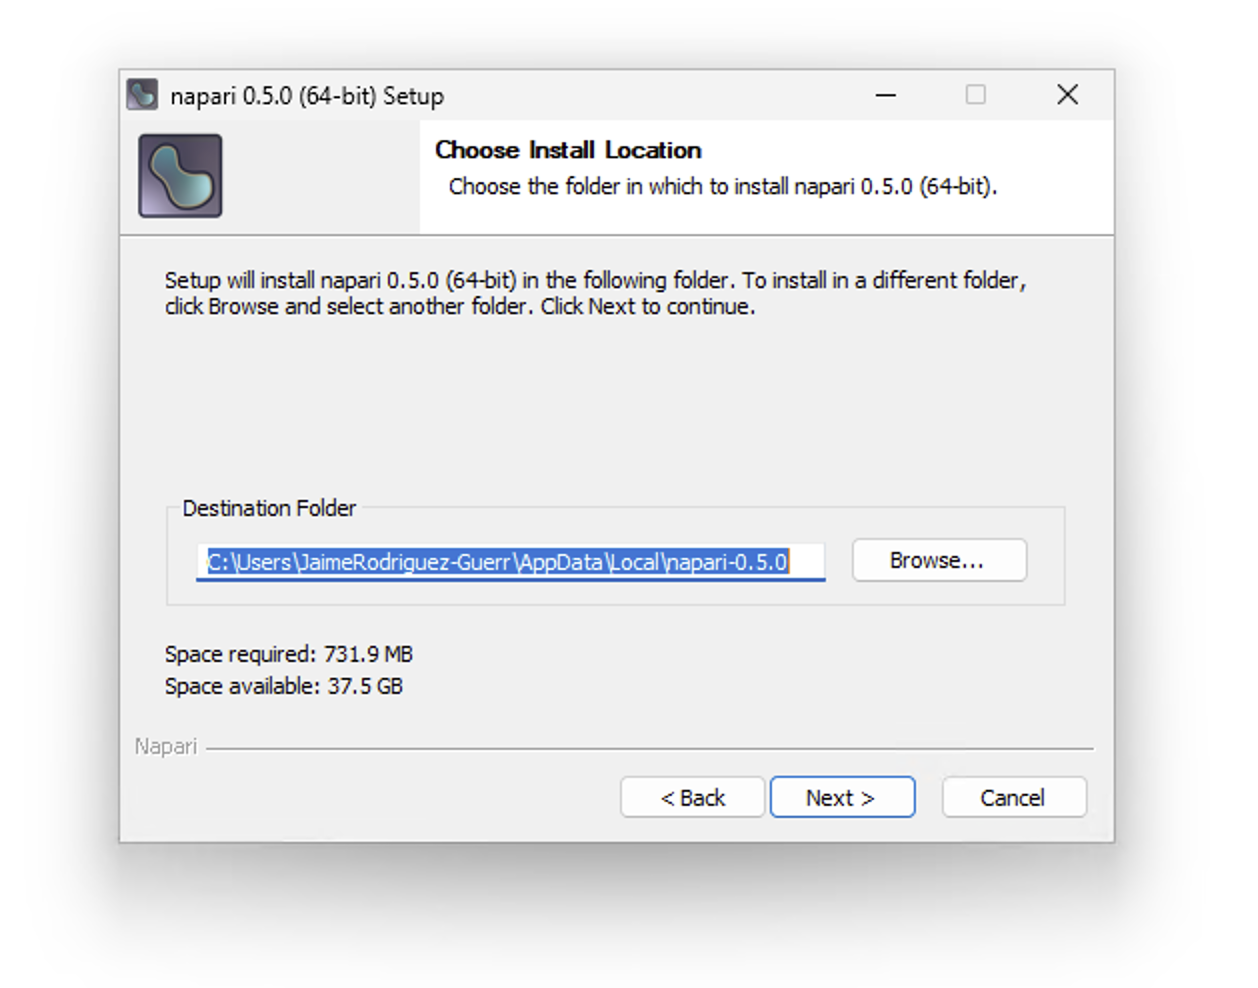
When prompted for an installation type, choose Just Me (recommended — no administrator privileges required):

Confirm the installation location (or click Browse to change it) and click Next.
Click Install to begin. Click Show details to monitor progress.
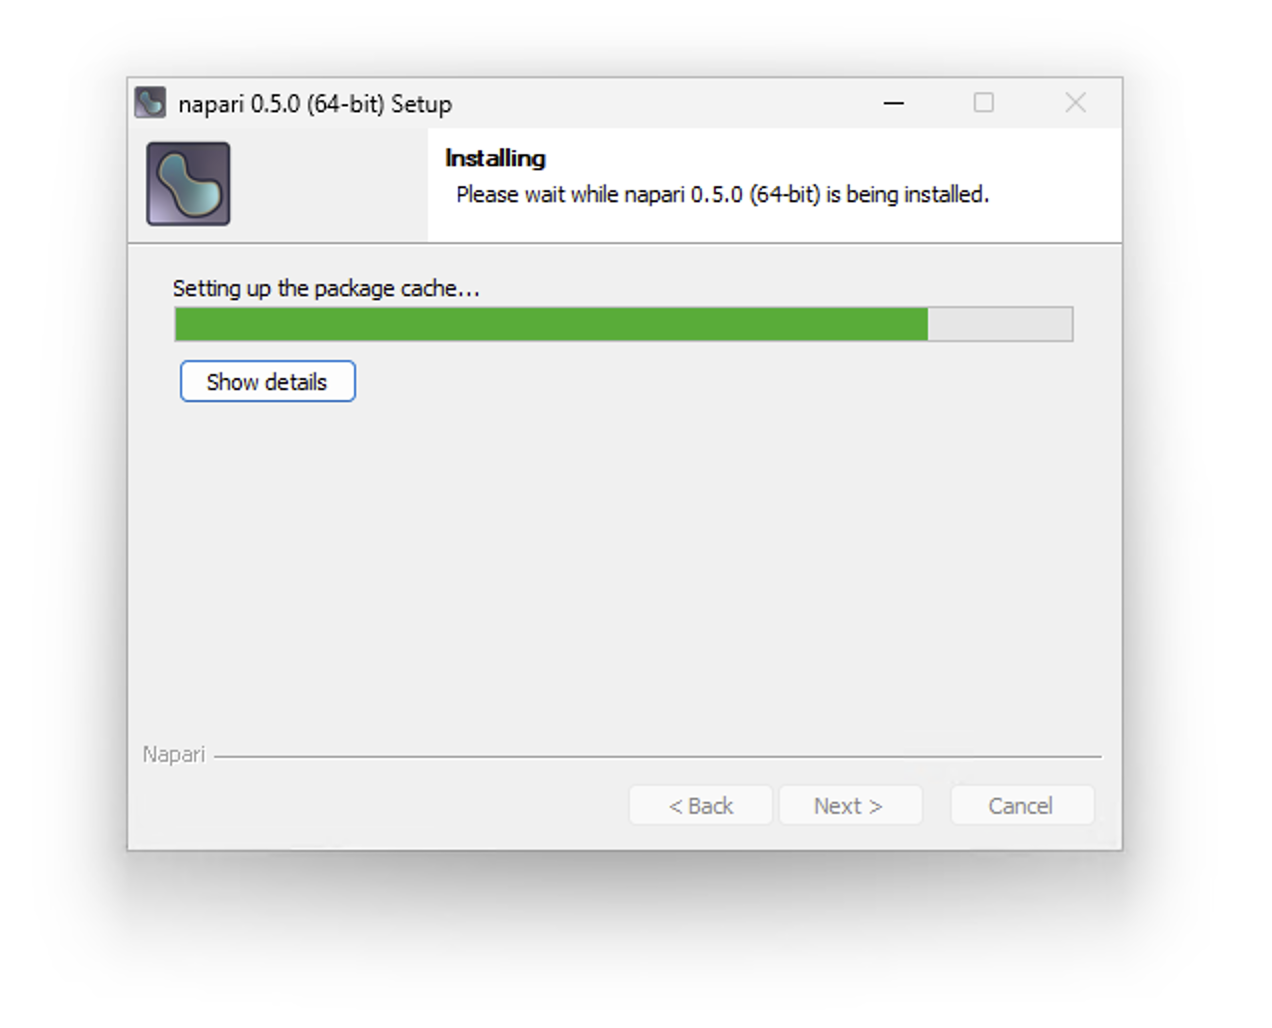
Once complete, click Finish to close the installer.
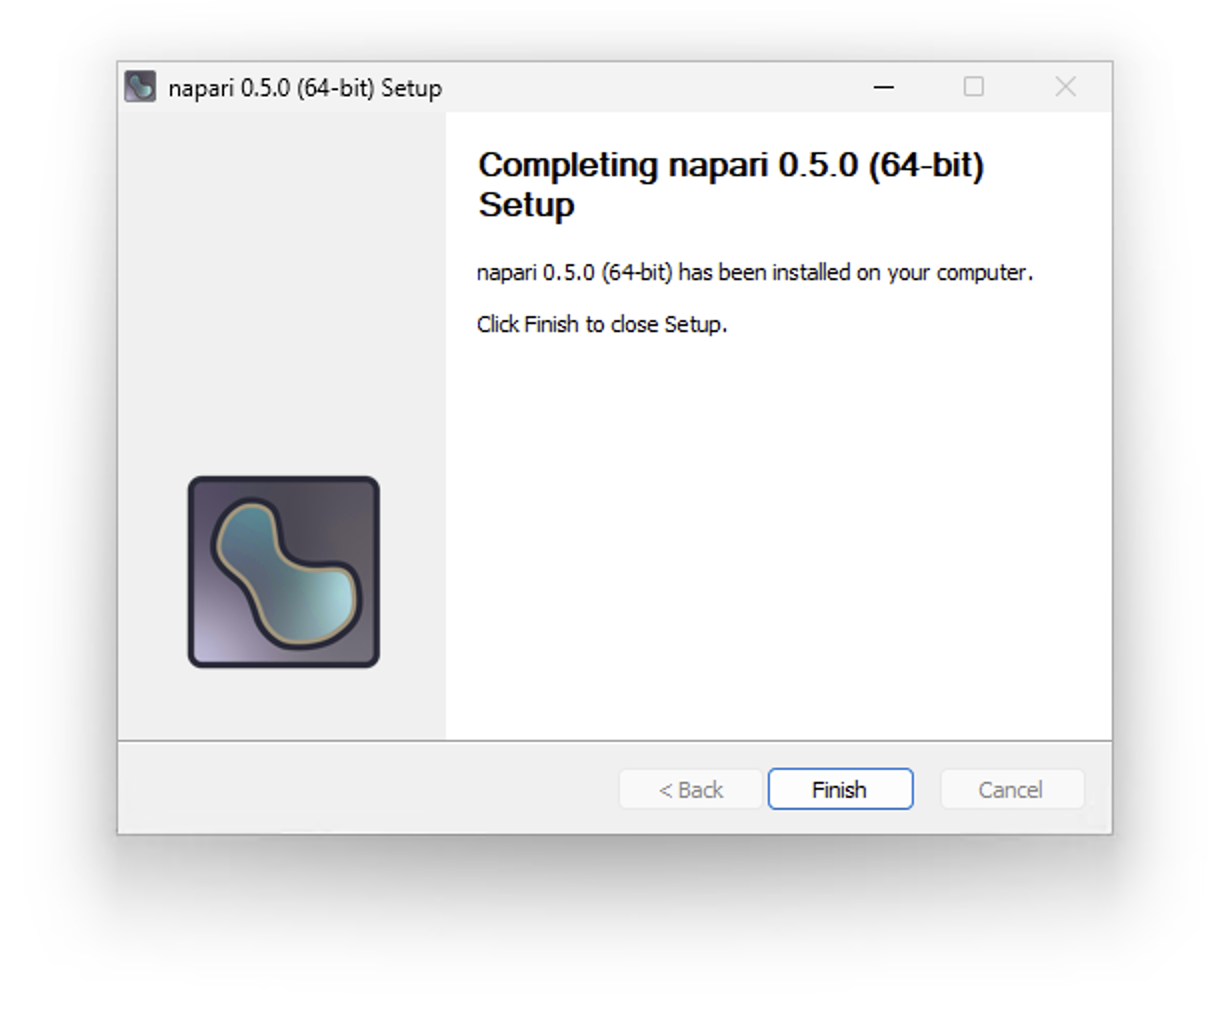
napari is now installed. Launch it from the Windows Start menu.
napari includes sample images from scikit-image. Use File > Open Sample > napari to open one, or use File > Open (or drag and drop files onto the viewer) to open your own images.
Next, check out our tutorial on the viewer or explore the Usage tab.
macOS#
Download the installer for your Mac. If you are unsure which version to choose, check “About this Mac” from the Apple menu or check the official Apple documentation to identify if your machine is Apple Silicon (ARM).
napari-0.8.0-macOS-arm64.pkg — Apple Silicon (ARM)
napari-0.8.0-macOS-x86_64.pkg — Intel
Double-click the downloaded .pkg file to launch the Installer.
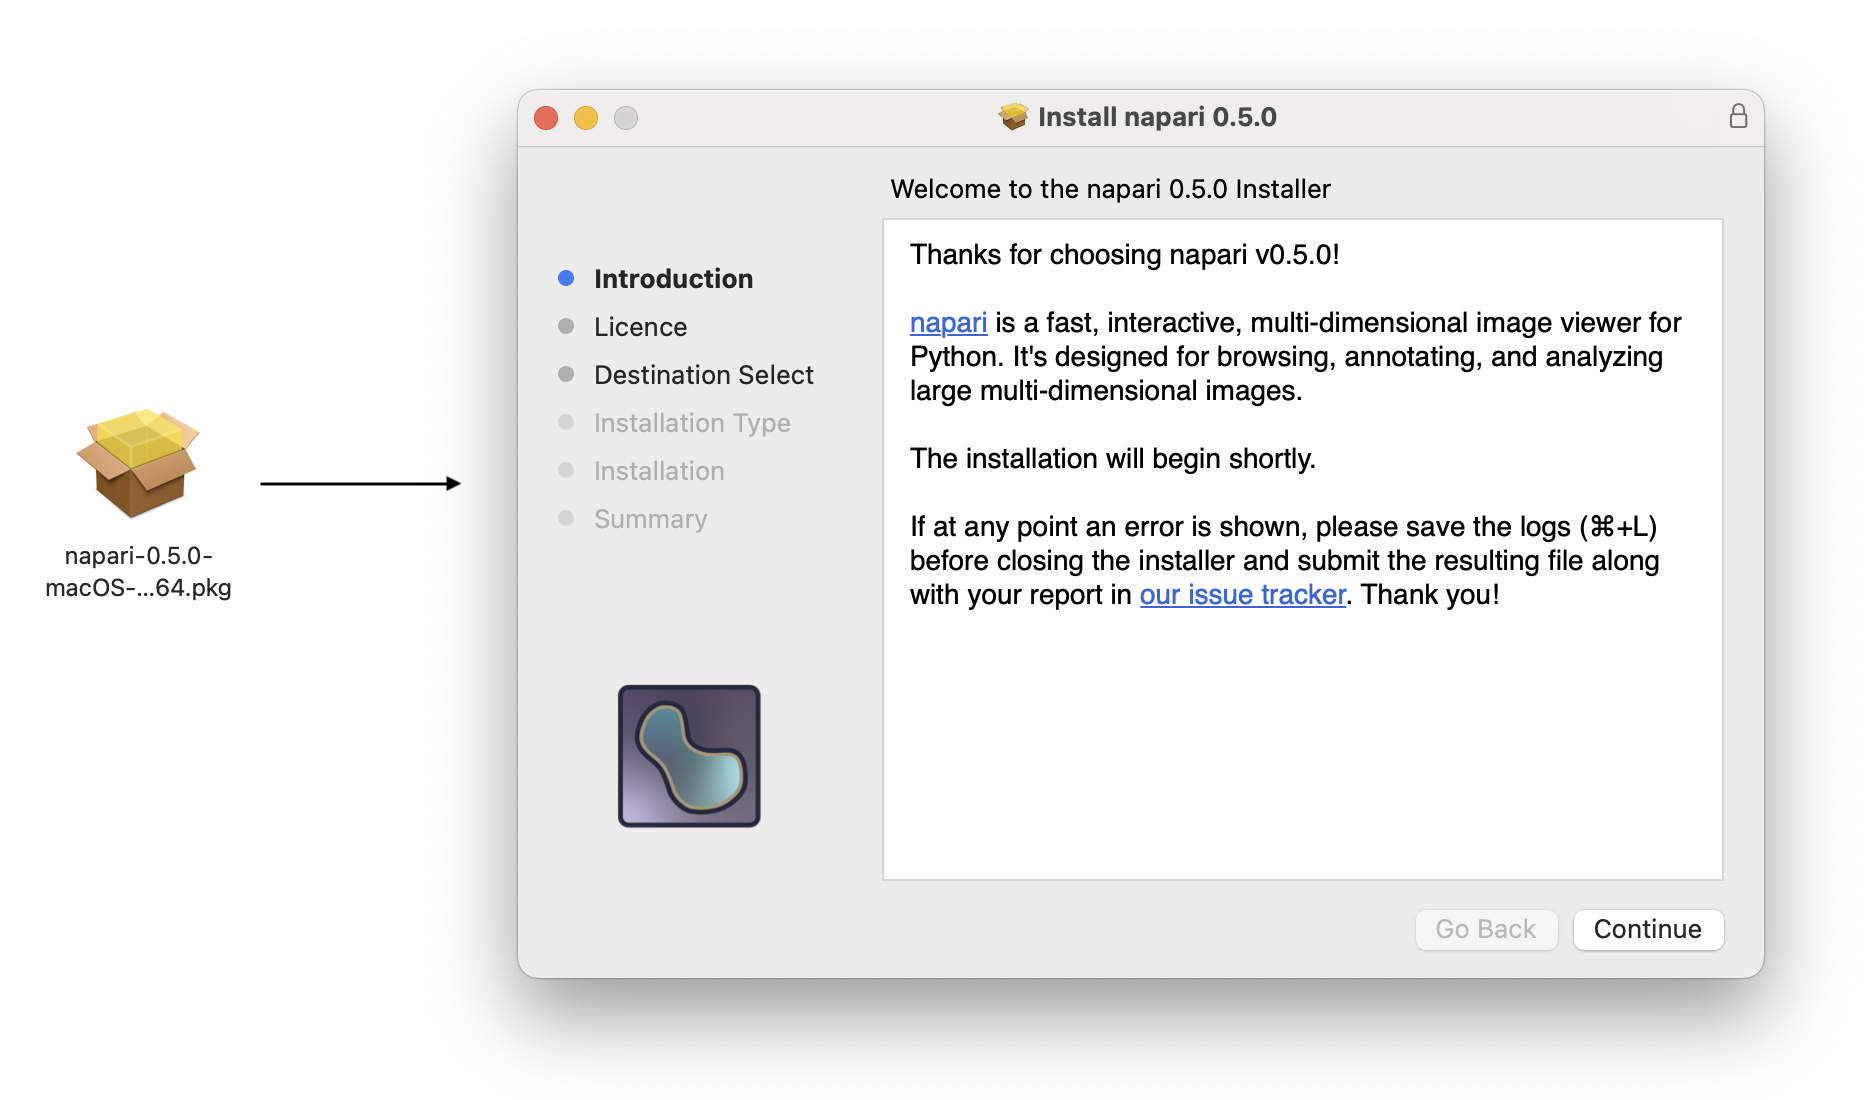
Click Continue to open the Software License Agreement.
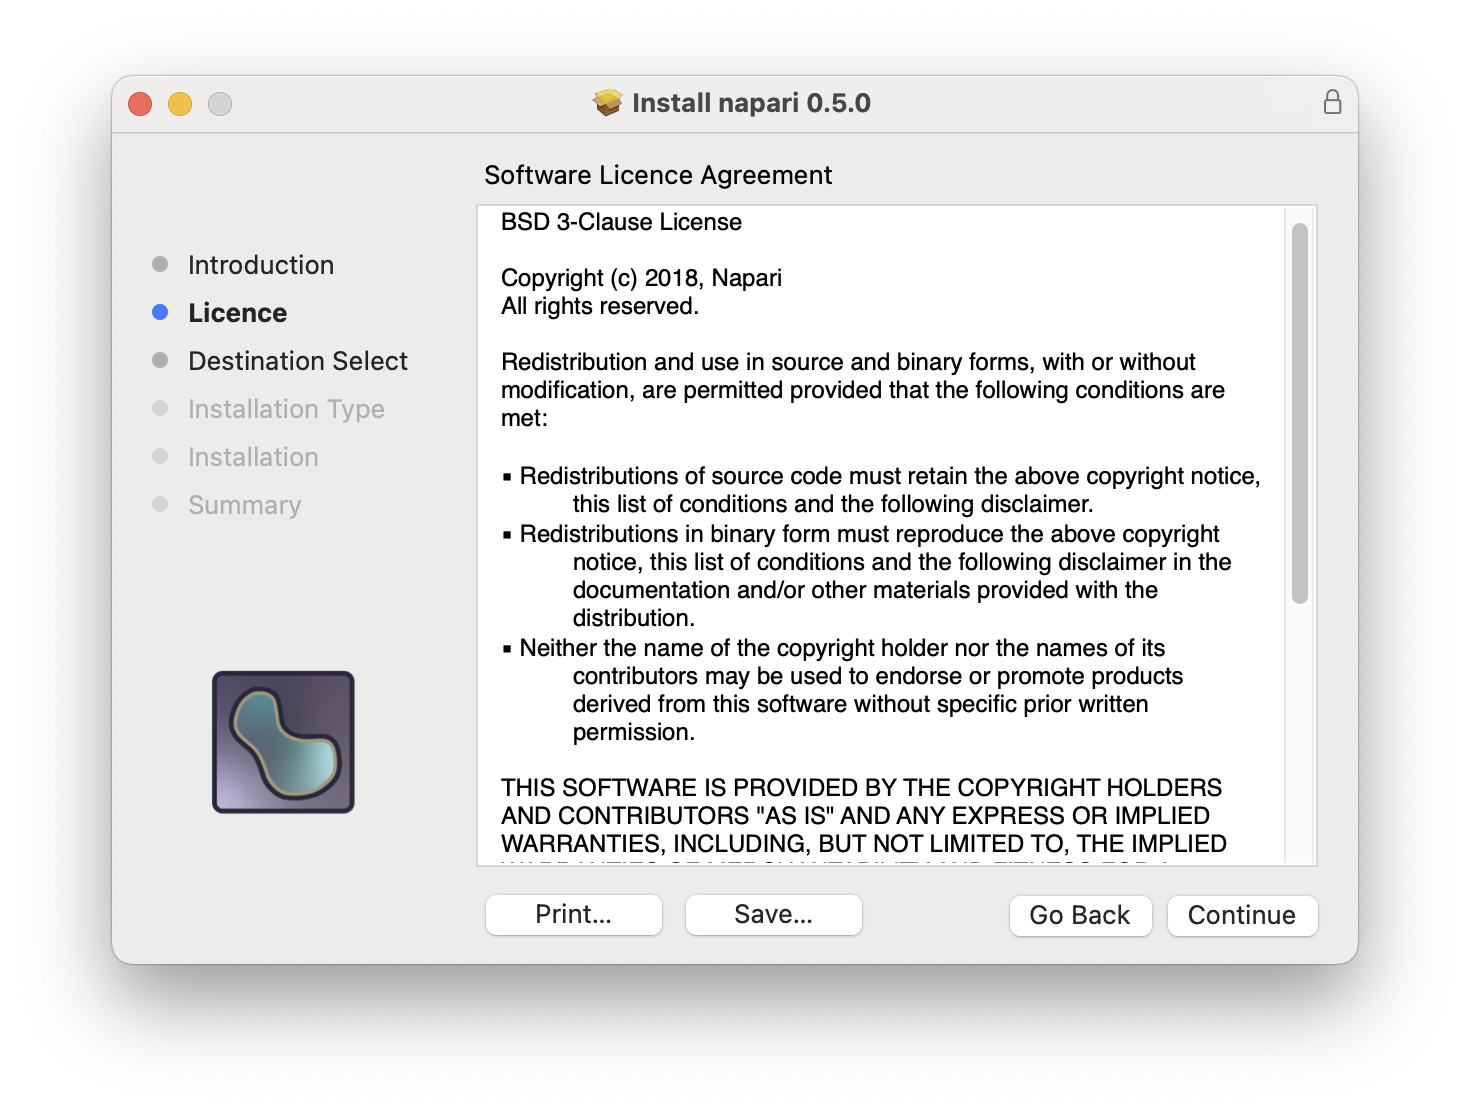
Read the agreement and click Continue again. You will be prompted to agree before installation can proceed.
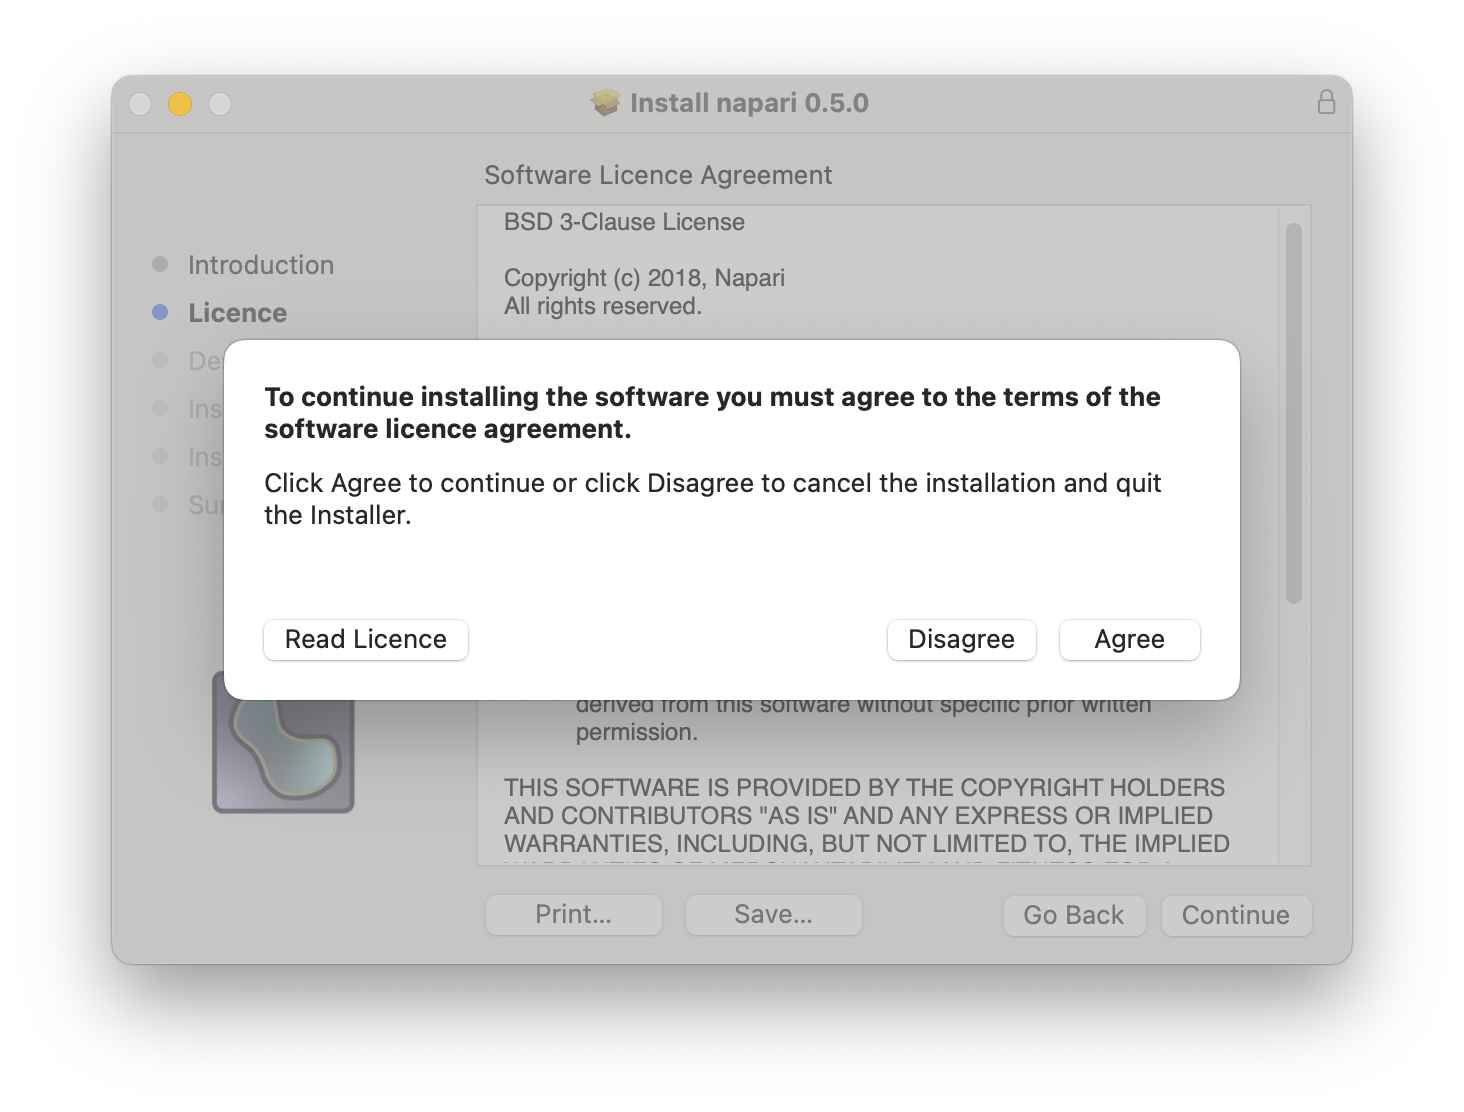
Click Agree. On the next page, review the disk space required and click Install to begin the standard installation.
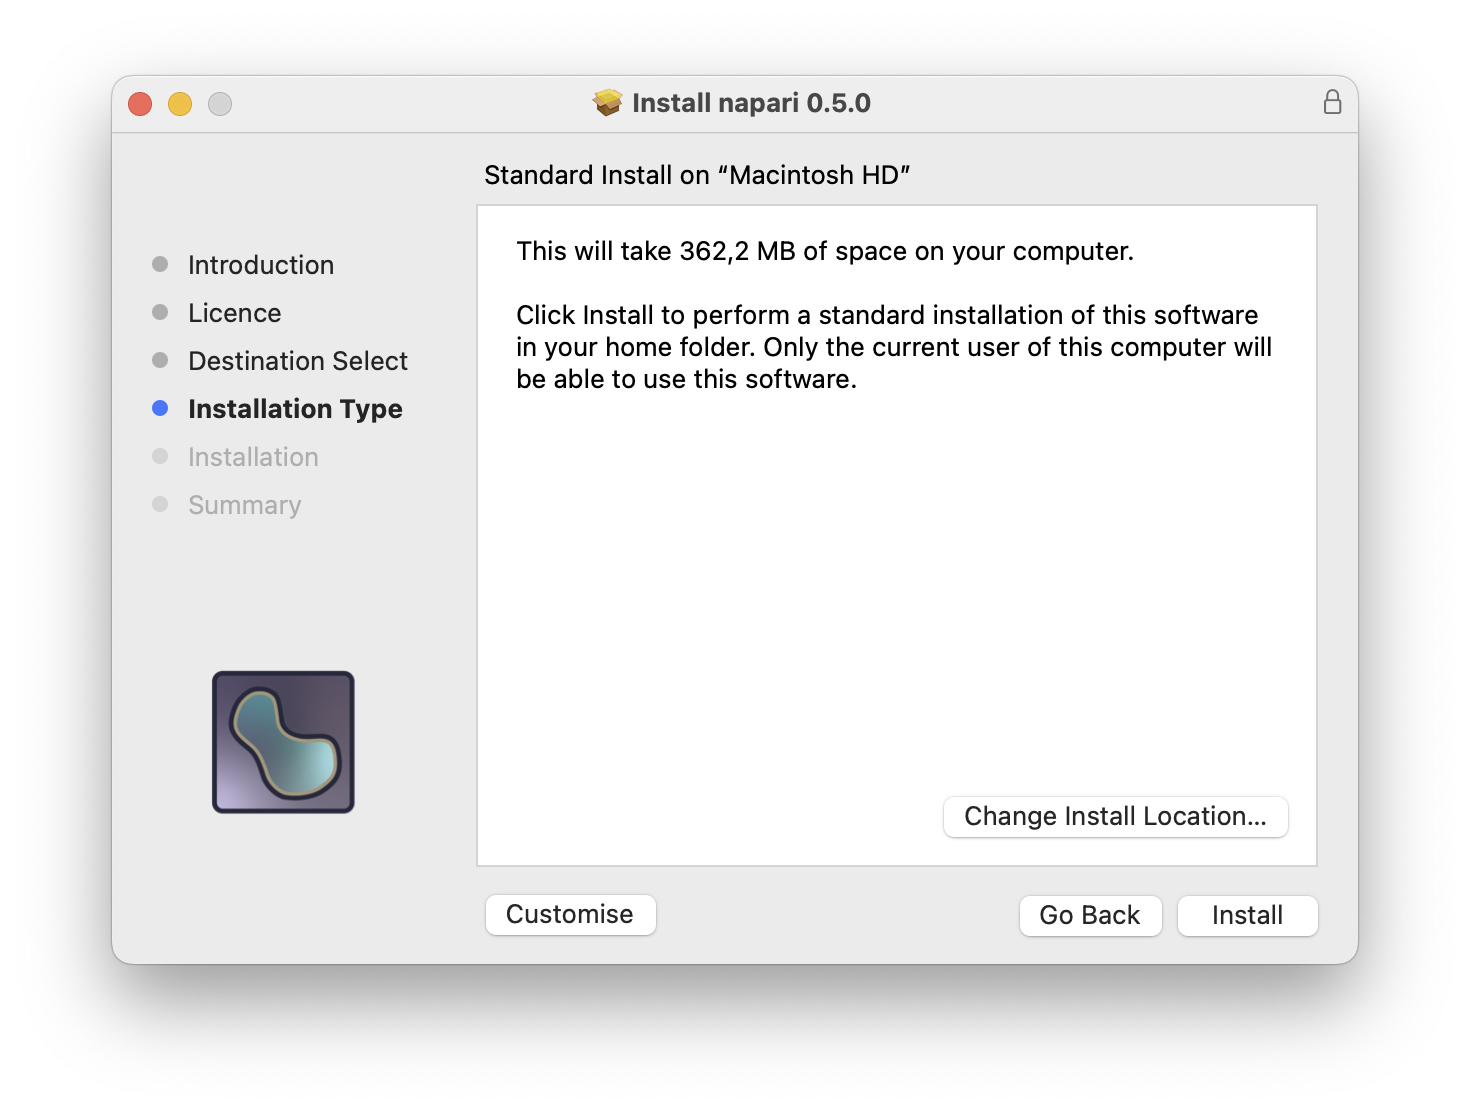
To install to a different location, click Change Install Location… before proceeding. You can also click Customize to adjust optional installation components.
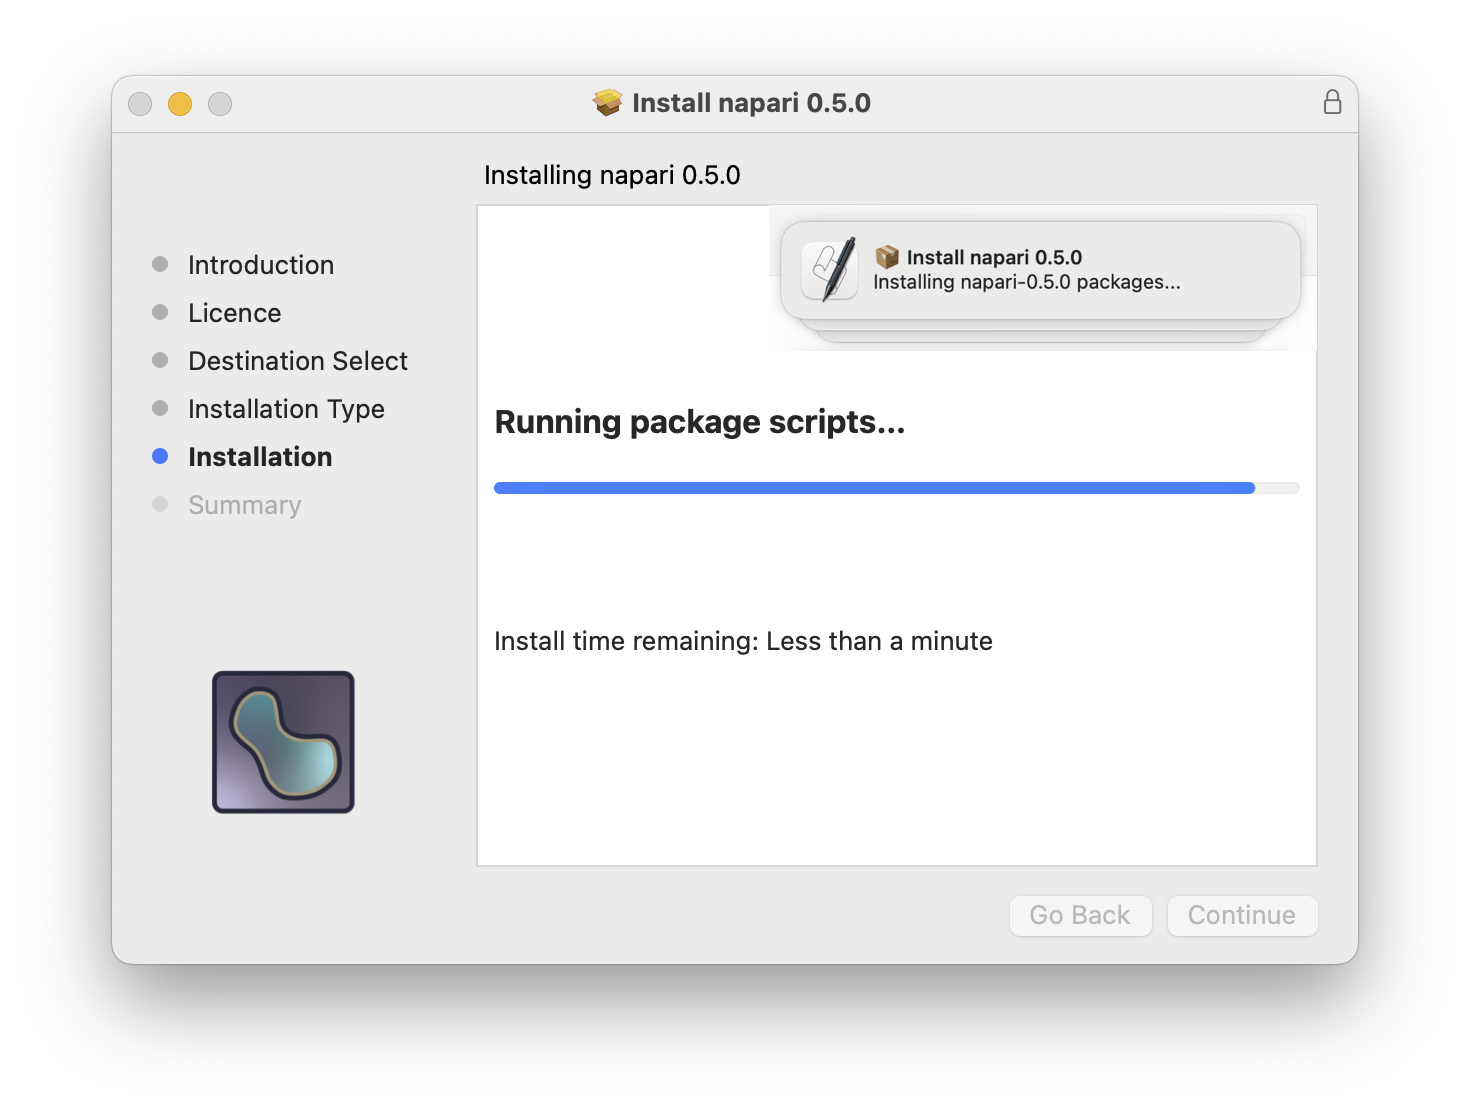
Installation progress is shown in the next window, with status notifications appearing in the top-right corner of your display.
Note
If an error occurs during installation, do not close the installer immediately. Inspect the log via Window > Installer log (or ⌘+L), set the Detail Level to Show All Logs, and save a copy. Include this log if you submit an issue.
When installation finishes successfully, you will see “The installation was successful”:
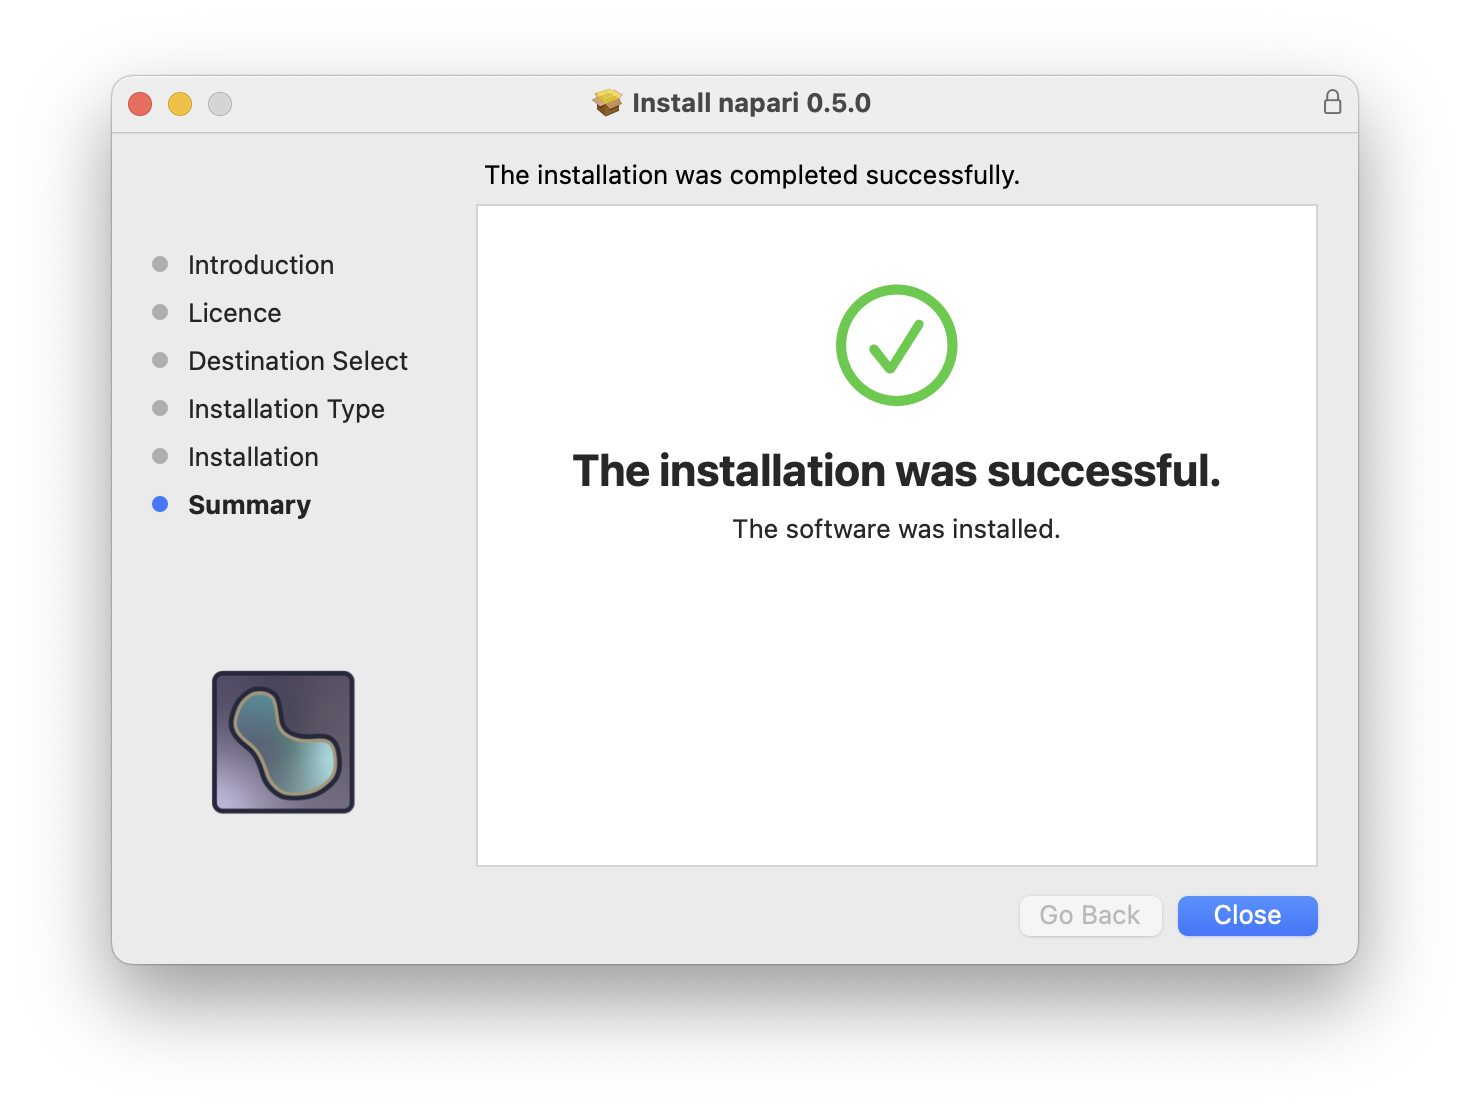
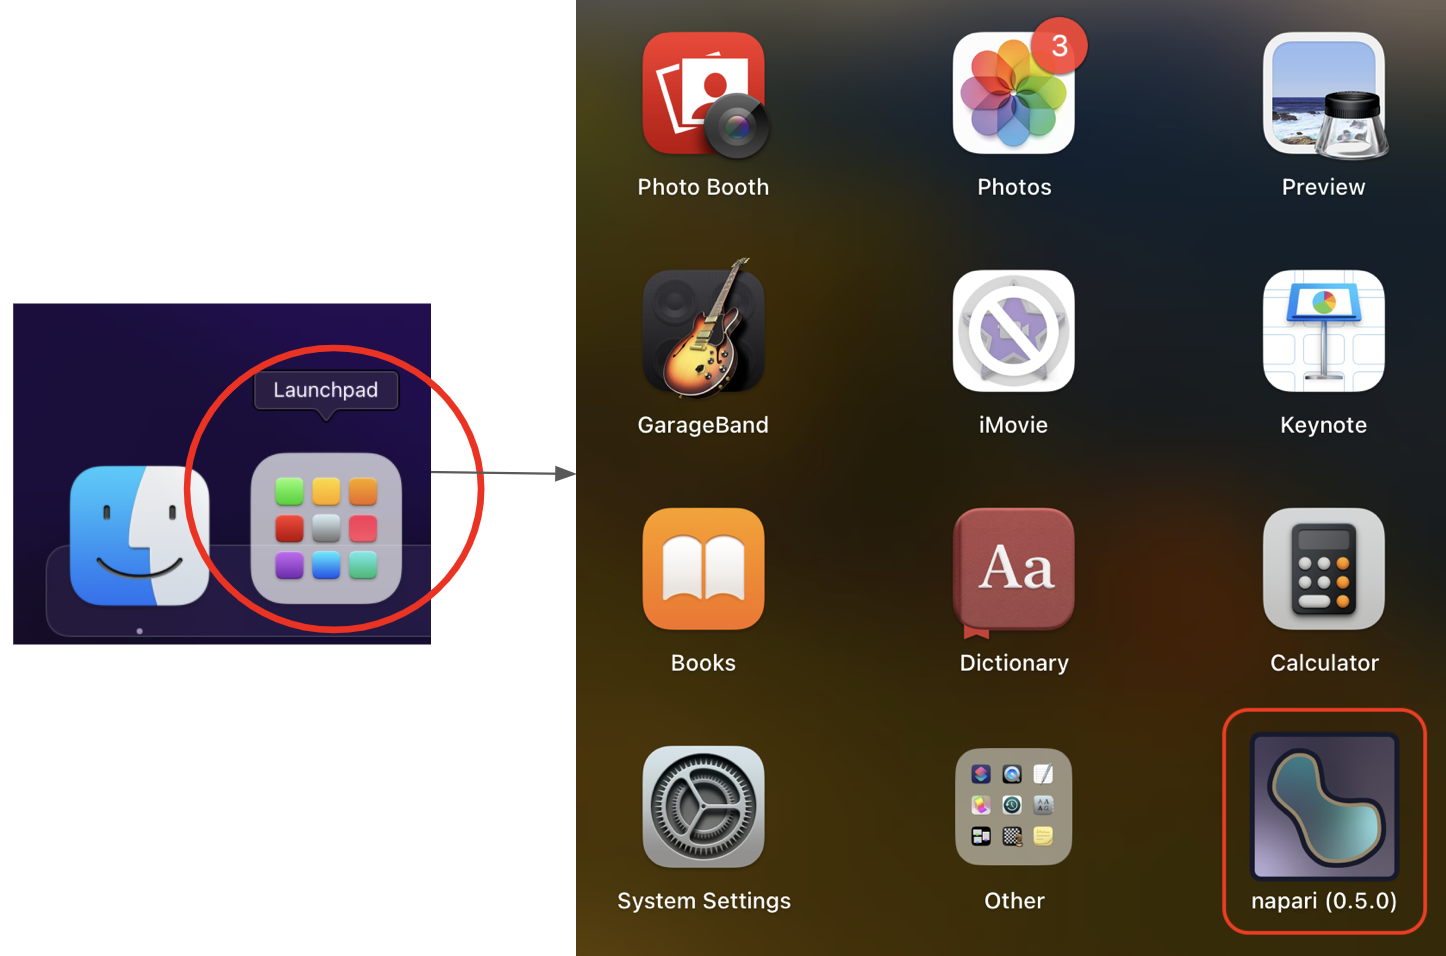
Click Close. napari is now installed and can be launched from Launchpad or found in Finder under 🏠 [User directory] > Applications.
napari includes sample images from scikit-image. Use File > Open Sample > napari to open one, or use File > Open (or drag and drop files onto the viewer) to open your own images.
Next, check out our tutorial on the viewer or explore the Usage tab.
Linux#
Download from GitHub: napari-0.8.0-Linux-x86_64.sh
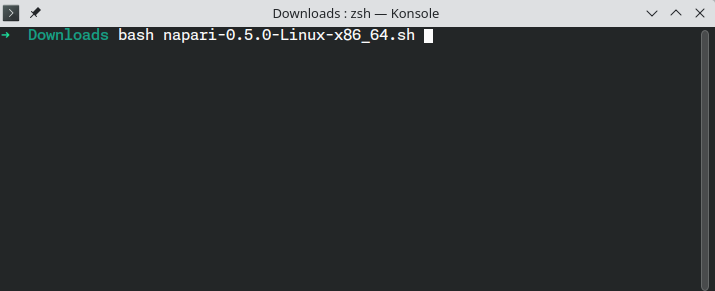
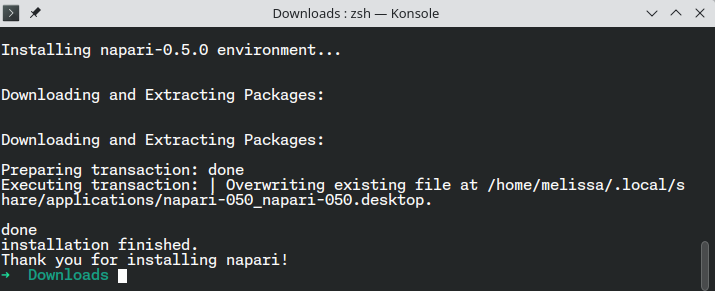
Open a terminal, navigate to your downloads folder (cd ~/Downloads), and run:
bash napari-REL-Linux-x86_64.sh # replace REL with the release version, e.g. 0.7.0
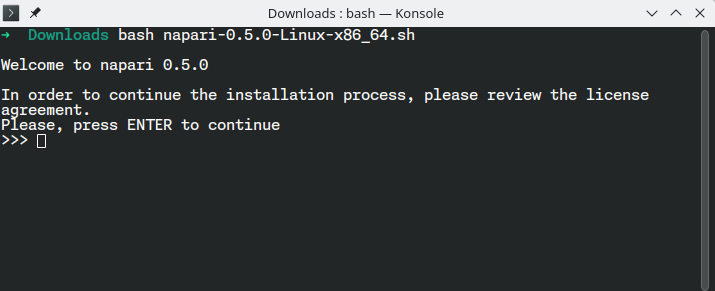
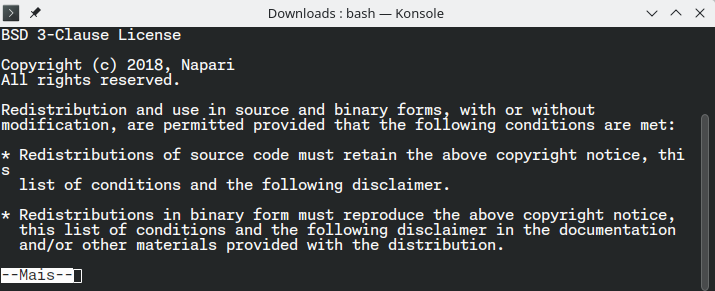
Press Enter to display the License Agreement.
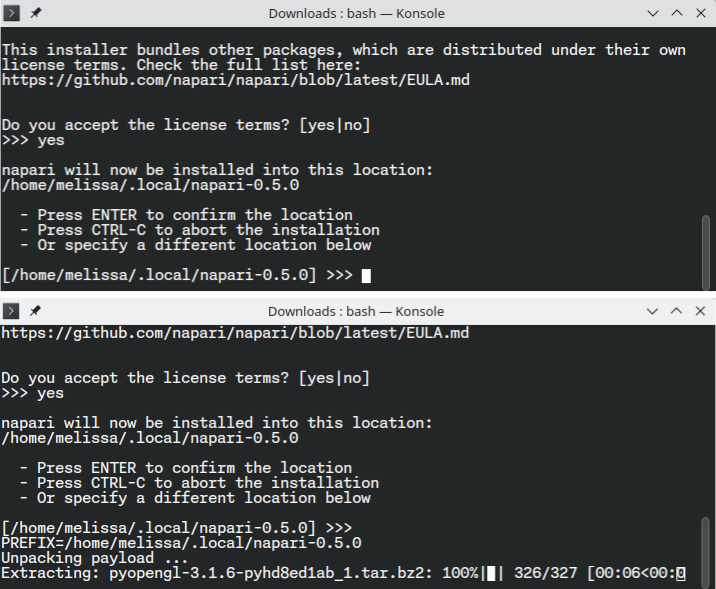
Read through the agreement. Type yes and press Enter to accept and continue.

You will be shown the default installation location. Press Enter to confirm, or type an absolute path to use a different location. The installation will then begin automatically.
When complete, the terminal will display “installation finished. Thank you for installing napari!”.
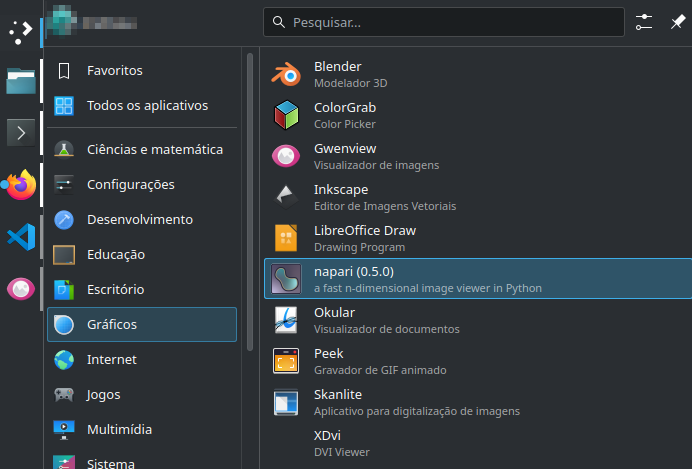
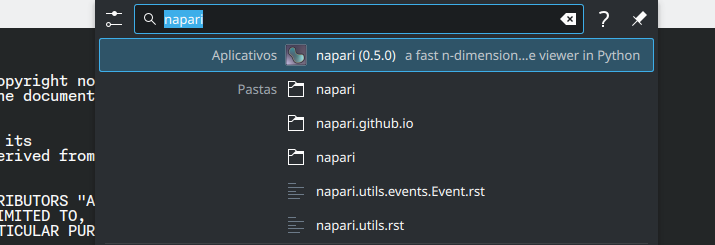
napari is now installed. A launcher shortcut should appear in your desktop application menu; under some desktop environments you can also search for “napari” using the search bar.
napari includes sample images from scikit-image. Use File > Open Sample > napari to open one, or use File > Open (or drag and drop files onto the viewer) to open your own images.
Next, check out our tutorial on the viewer or explore the Usage tab.
Plugins#
napari’s functionality can be extended through the use of plugins. Plugins can be installed as Python packages via pip or conda, or directly from within napari using the napari plugin manager.
To explore existing plugins, visit the napari hub. For more details, check out our documentation on finding and installing plugins.
Next steps#
To start learning how to use napari, checkout our getting started tutorial
If you are interested in contributing to napari, please check our contributing guidelines
If you are running into issues or bugs, please open a new issue on our issue tracker
If you want help using napari, we are a community partner on the imagesc forum and all usage support requests should be posted on the forum with the tag
napari. We look forward to interacting with you there!