Note
Go to the end to download the full example as a Python script or as a Jupyter notebook..
3D image plane rendering#
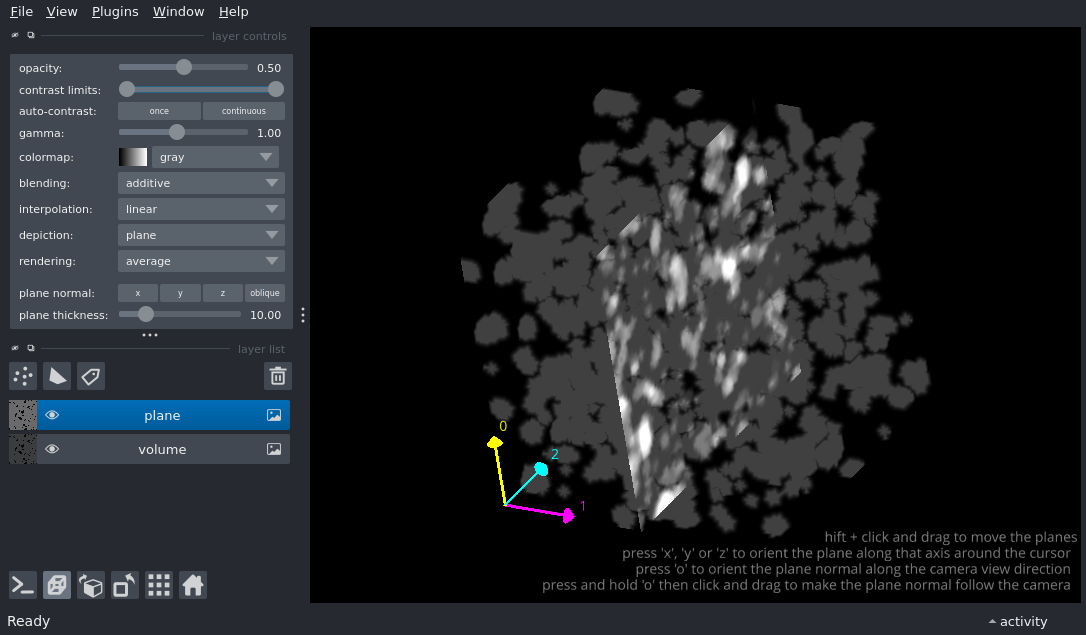
Display one 3D image layer and display it as a plane with a simple widget for modifying plane parameters.

import numpy as np
from skimage import data

import napari
from napari.utils.translations import trans

viewer = napari.Viewer(ndisplay=3)

# add a 3D image
blobs = data.binary_blobs(
    length=64, volume_fraction=0.1, n_dim=3
).astype(np.float32)
image_layer = viewer.add_image(
    blobs, rendering='mip', name='volume', blending='additive', opacity=0.25
)

# add the same 3D image and render as plane
# plane should be in 'additive' blending mode or depth looks all wrong
plane_parameters = {
    'position': (32, 32, 32),
    'normal': (0, 1, 0),
    'thickness': 10,
}

plane_layer = viewer.add_image(
    blobs,
    rendering='average',
    name='plane',
    depiction='plane',
    blending='additive',
    opacity=0.5,
    plane=plane_parameters
)
viewer.axes.visible = True
viewer.camera.angles = (45, 45, 45)
viewer.camera.zoom = 5
viewer.text_overlay.text = trans._(
    """
shift + click and drag to move the plane
press 'x', 'y' or 'z' to orient the plane along that axis around the cursor
press 'o' to orient the plane normal along the camera view direction
press and hold 'o' then click and drag to make the plane normal follow the camera
"""
)
viewer.text_overlay.visible = True
if __name__ == '__main__':
    napari.run()